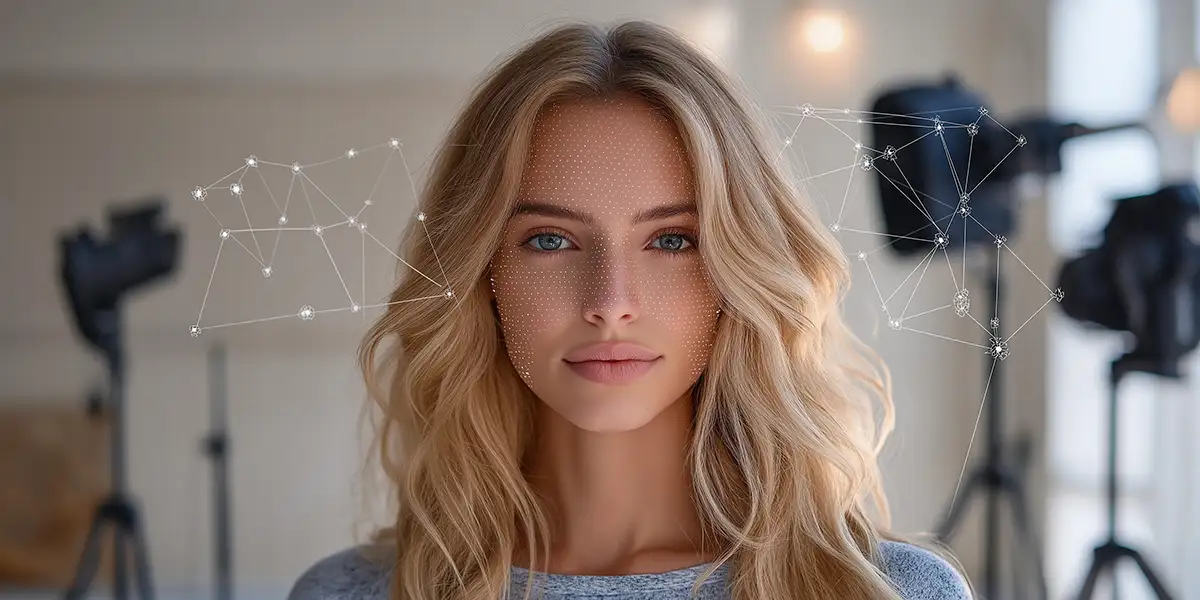
The Ultimate Guide to Perfect Passport Photos
Common Mistakes and How to Avoid Them
Getting the perfect passport photo can feel like threading a needle – there are numerous requirements to meet, and even small mistakes can lead to rejection. Whether you’re applying for your first passport or need to renew an existing one, this comprehensive guide will help you avoid common pitfalls and ensure your passport photo meets all official requirements.
Why Passport Photo Requirements Matter
Each year, thousands of passport applications face delays or rejections due to improper photos. These setbacks not only cost valuable time but also lead to additional expenses and stress, especially when travel dates are approaching. Understanding and following passport photo guidelines is crucial for a smooth application process.
Most Common Passport Photo Mistakes
1. Incorrect Photo Size and Cropping
One of the most frequent reasons for passport photo rejection is improper sizing. Official passport photos must be:
- Exactly 2 x 2 inches (51 x 51 mm) for U.S. passports
- Head height between 1 inch and 1 3/8 inches (25-35 mm)
- Head positioned directly facing the camera
- Eyes between 1 1/8 inches and 1 3/8 inches (28-35 mm) from the bottom of the photo
Modern AI-powered photo services automatically handle these measurements, ensuring perfect sizing every time. This technology eliminates the guesswork and manual measuring that often leads to rejection.
2. Lighting Problems
Proper lighting can make or break a passport photo. Common lighting mistakes include:
- Harsh shadows on the face or background
- Uneven lighting causing glare
- Too dark or too bright exposure
- Flash reflection on glasses
The ideal passport photo features even, front-facing lighting that clearly shows your features without shadows or harsh contrasts. Natural light near a window or evenly distributed artificial light works best.
3. Background Issues
The background of your passport photo must be:
- Plain white or off-white
- Free of patterns or shadows
- Even in color and lighting
- Free of other objects or people
Many applicants make the mistake of using colored walls or textured backgrounds, which lead to automatic rejection. AI-powered photo services can automatically detect and correct background issues, ensuring compliance with official requirements.
4. Expression and Pose Problems
Your expression and pose must meet specific criteria:
- Neutral facial expression
- Both eyes open and clearly visible
- Looking directly at the camera
- Head straight, not tilted
- Shoulders square to the camera
Common mistakes include:
- Smiling with teeth showing
- Looking slightly away from the camera
- Tilting the head
- Closing eyes or squinting
5. Accessory and Clothing Violations
What you wear in your passport photo matters. Here are the key rules:
- No hats or head coverings (except for religious purposes with documentation)
- No headphones or wireless devices
- No dark or tinted glasses
- Regular glasses must not show glare
- Facial features must be fully visible
- Normal daily attire required
The Digital Solution: How AI Ensures Compliance
Modern technology has revolutionized passport photo preparation. AI-powered systems can:
- Automatically verify photo compliance
- Adjust sizing and cropping precisely
- Check facial positioning and expression
- Validate background requirements
- Ensure proper lighting distribution
Using an AI-powered service like passport-photo.ai provides several advantages:
- Instant verification of all requirements
- Real-time feedback for corrections
- Guaranteed acceptance or money back
- Significant cost savings compared to studio photos
- Convenience of taking photos at home
Step-by-Step Guide to Taking Perfect Passport Photos
-
Preparation:
- Choose a plain white wall
- Ensure good lighting
- Wear appropriate clothing
- Remove unnecessary accessories
-
Camera Setup:
- Position camera at eye level
- Maintain proper distance (about 4 feet)
- Ensure good focus and stability
- Check lighting conditions
-
Taking the Photo:
- Stand straight
- Look directly at the camera
- Maintain neutral expression
- Keep both eyes open
- Keep shoulders level
-
Verification:
- Check size requirements
- Verify background clarity
- Ensure proper lighting
- Confirm facial expression
- Validate overall compliance
Cost Implications of Rejected Photos
Rejected passport photos can lead to:
- Additional application processing time
- Extra photo session costs
- Delayed travel plans
- Potential rush processing fees
- Lost time and inconvenience
By using a reliable digital service, you can avoid these costs and ensure acceptance on your first try.
Conclusion
Taking a perfect passport photo doesn’t have to be complicated or expensive. By understanding common mistakes and leveraging modern technology, you can ensure your passport photo meets all requirements the first time. Using an AI-powered service like passport-photo.ai not only saves time and money but also provides peace of mind with guaranteed acceptance.
Remember these key points:
- Follow size and cropping requirements precisely
- Ensure proper lighting and background
- Maintain correct pose and expression
- Verify compliance before submission
- Consider using AI-powered solutions for guaranteed results
Ready to take your passport photo? Try passport-photo.ai for instant, guaranteed-acceptance passport photos that meet all official requirements. Save time and money while ensuring perfect results every time.
Disclaimer: Passport photo requirements may vary by country and document type. Always verify specific requirements for your destination or document type before submission.
